We now have over 1000 BlueFly Varios in the hands of paragliding, hang gliding and sailplane pilots around the world! This milestone was passed a few weeks ago. I was pretty excited and let a few friends know; but only now do I get to blog about it. In this post I am going to reflect a little on what the BlueFly project has achieved, where it is at, and what I am planning for the future.
Achievements
Have a look back at this early blog post from 2011. I have pretty much did what I said I was going to do. Notice I mentioned 10 prototypes, in a later blog post I mentioned 50. I never thought that we would make over 1000, nor did I think early on that could just be the start.
The chart below shows how production has continued to increase. This chart starts in May 2013 when the version 6 prototype was released. That was the first one with an onboard audio speaker which proved to be something that pilots really wanted. Notice the rapid increase around the start of the European flying season, then again when the device to integrate with the Kobo was released. It does not include every vario produced, only those ordered over the internet. Quite a few have also been sold directly to pilots in Australia. It was early July when the 1000 milestone was passed and there is no sign that interest is slowing.

Another achievement has been the ability to share pretty much everything. This is 64th blog post, the Facebook page helps pilots collaborate, GitHub allows the Android code to be shared, and more recently I have uploaded 3d printable case designs to Thingverse (as I am writing this the 3d printer is whirring in the background on a new case design). I intend to continue to share the designs as the BlueFly adventure continues.
All of those achievements are really about me, but the thing I am most happy about are some of the great flights that pilots of all experience have reported. Some of the world's top pilots are regularly doing awesome flights with the vario. I got a kick out of the vario helping in the 2013 X-Alps, and more than one top pilot will be using it in the next one. However, some of the best stories come from new pilots. Most of us can remember that first great flight with the help of a vario. For some BlueFly users their first flight using a vario is with one of my little devices that beep, and the stories of smiling faces are an awesome source of motivation.
What is the current status of the project?
Perhaps the biggest news is that I have had to start a company in Australia to manage this hobby. There are a lot of things to do to keep up with the current rate of production and many payments to make. So to manage the tax affairs properly a company was the obvious choice. The project was never about making money, and it still isn't, but unless I group up all of the activities in a company then I could get myself in trouble. Operating as a company in Australia also means I separate it from my personal affairs.
I am currently focusing on production of the Bluetooth and the TTL_GPS prototypes. I recently shipped the last of the BlueFlyVario_TTL version 8. There was some interest, but most pilots wanted to integrate that older version onto their Kobo and the TTL_GPS is more suitable for that.
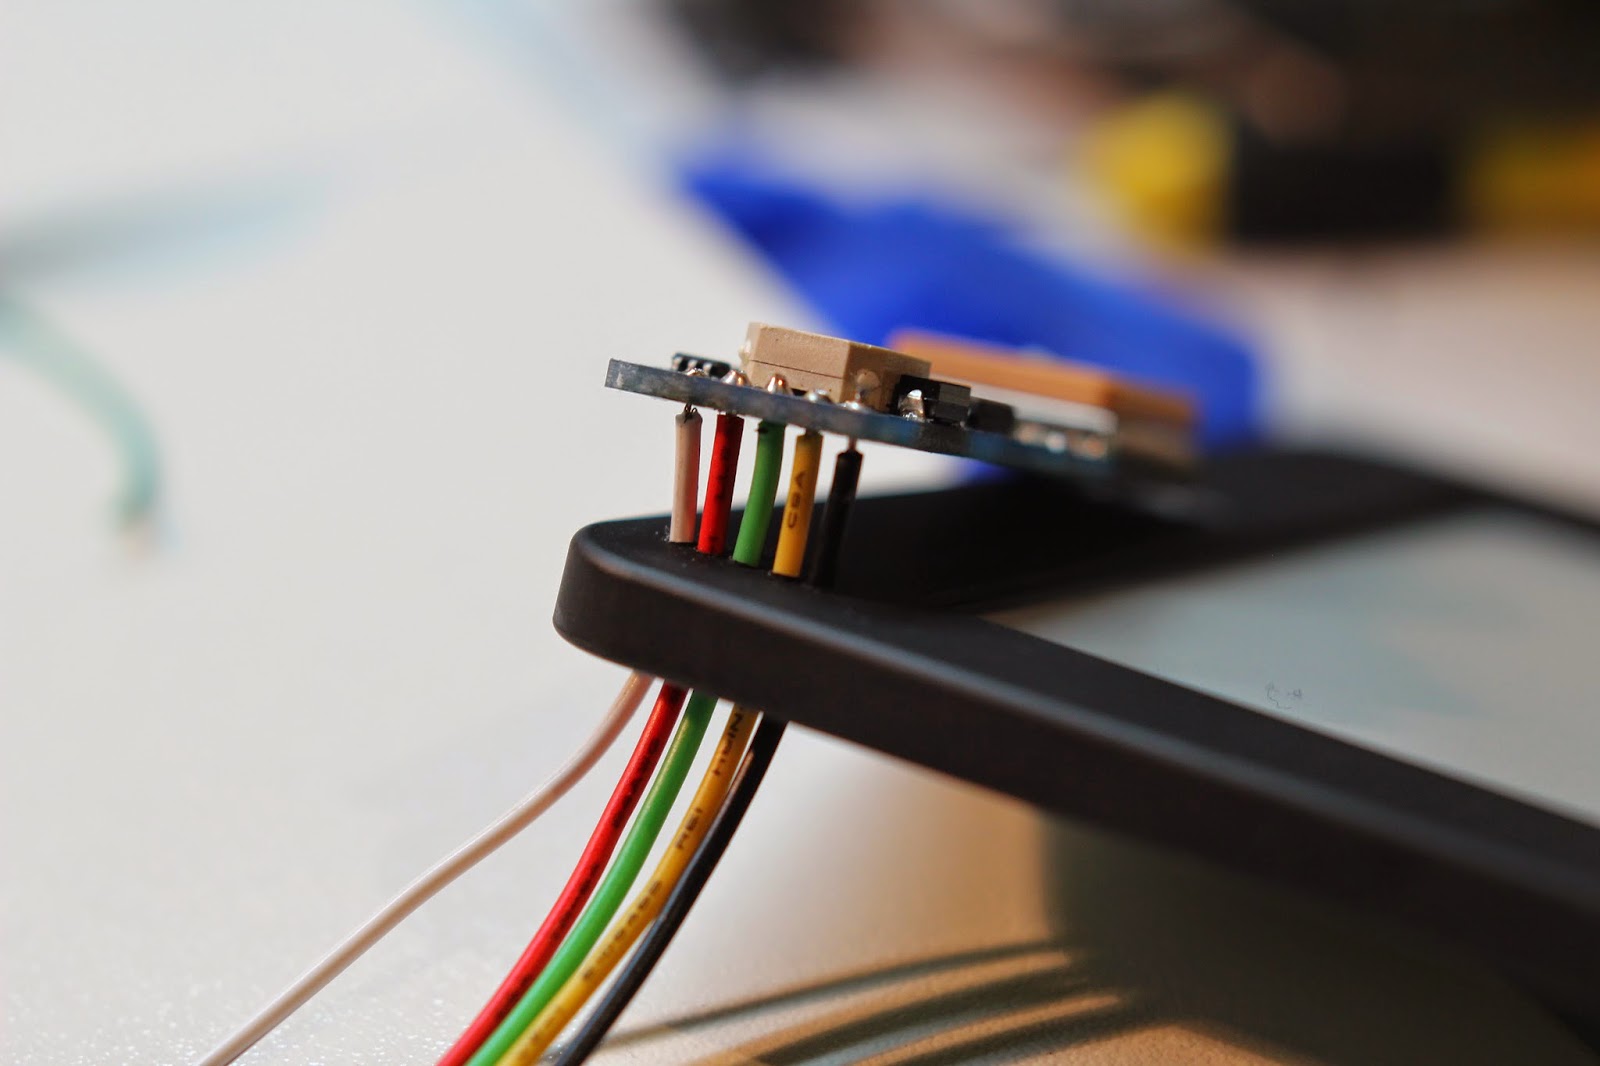
With increasing orders I want more time to do development instead of the simple assembly work. A fabrication house in China is now doing some of the component assembly. They are the same guys used for PCB manufacture for some time, and now they are soldering on many of the components as well. It does not add much to the cost (they can source some parts cheaper), and their soldering quality is better than can be done by hand at home. I soldered every component for over 900 of the first 1000 varios in my little home workshop. In hindsight, I should have got this assembly done earlier, but I did learn a lot and the vario design got better because I was assembling it. I am still planning to program and test each one.
The future
There are many plans for future devices which perform better, are easier for non technical people to use, and offer additional features. I have listed below some of the of the things I am working on when I get time. It is unlikely that they will all end up in a future device, but I am sure you will see some of these things plus some additional surprises.
I think the future is looking pretty good for home-brew flight instruments. I don't think you will see the end of the BlueFly project for a while yet.
Achievements
Have a look back at this early blog post from 2011. I have pretty much did what I said I was going to do. Notice I mentioned 10 prototypes, in a later blog post I mentioned 50. I never thought that we would make over 1000, nor did I think early on that could just be the start.
The chart below shows how production has continued to increase. This chart starts in May 2013 when the version 6 prototype was released. That was the first one with an onboard audio speaker which proved to be something that pilots really wanted. Notice the rapid increase around the start of the European flying season, then again when the device to integrate with the Kobo was released. It does not include every vario produced, only those ordered over the internet. Quite a few have also been sold directly to pilots in Australia. It was early July when the 1000 milestone was passed and there is no sign that interest is slowing.
Another achievement has been the ability to share pretty much everything. This is 64th blog post, the Facebook page helps pilots collaborate, GitHub allows the Android code to be shared, and more recently I have uploaded 3d printable case designs to Thingverse (as I am writing this the 3d printer is whirring in the background on a new case design). I intend to continue to share the designs as the BlueFly adventure continues.
All of those achievements are really about me, but the thing I am most happy about are some of the great flights that pilots of all experience have reported. Some of the world's top pilots are regularly doing awesome flights with the vario. I got a kick out of the vario helping in the 2013 X-Alps, and more than one top pilot will be using it in the next one. However, some of the best stories come from new pilots. Most of us can remember that first great flight with the help of a vario. For some BlueFly users their first flight using a vario is with one of my little devices that beep, and the stories of smiling faces are an awesome source of motivation.
What is the current status of the project?
Perhaps the biggest news is that I have had to start a company in Australia to manage this hobby. There are a lot of things to do to keep up with the current rate of production and many payments to make. So to manage the tax affairs properly a company was the obvious choice. The project was never about making money, and it still isn't, but unless I group up all of the activities in a company then I could get myself in trouble. Operating as a company in Australia also means I separate it from my personal affairs.
I am currently focusing on production of the Bluetooth and the TTL_GPS prototypes. I recently shipped the last of the BlueFlyVario_TTL version 8. There was some interest, but most pilots wanted to integrate that older version onto their Kobo and the TTL_GPS is more suitable for that.
With increasing orders I want more time to do development instead of the simple assembly work. A fabrication house in China is now doing some of the component assembly. They are the same guys used for PCB manufacture for some time, and now they are soldering on many of the components as well. It does not add much to the cost (they can source some parts cheaper), and their soldering quality is better than can be done by hand at home. I soldered every component for over 900 of the first 1000 varios in my little home workshop. In hindsight, I should have got this assembly done earlier, but I did learn a lot and the vario design got better because I was assembling it. I am still planning to program and test each one.
The future
There are many plans for future devices which perform better, are easier for non technical people to use, and offer additional features. I have listed below some of the of the things I am working on when I get time. It is unlikely that they will all end up in a future device, but I am sure you will see some of these things plus some additional surprises.
- I am still planning to continue the development for the airspeed sensor using a pitot tube. I have not developed this much since the last blog post about it.
- I would like to offer an onboard memory and flight logging capability. Other than just going beep I think many pilots really want their device to log their flights. I think this should be possible with a microSD card. I would probably change the processor if I went down this path.
- User update-able firmware would allow me to roll out little tweaks. This means a bootloader needs to be developed. I am testing a few of them.
- Soft power on and off will allow the use of a tact switch. That should be more reliable than the current slide switch.
- I intend to change the battery connector on future versions to a Molex connector. That should save a little time in assembly and make it easier for exchanging the battery.
I think the future is looking pretty good for home-brew flight instruments. I don't think you will see the end of the BlueFly project for a while yet.