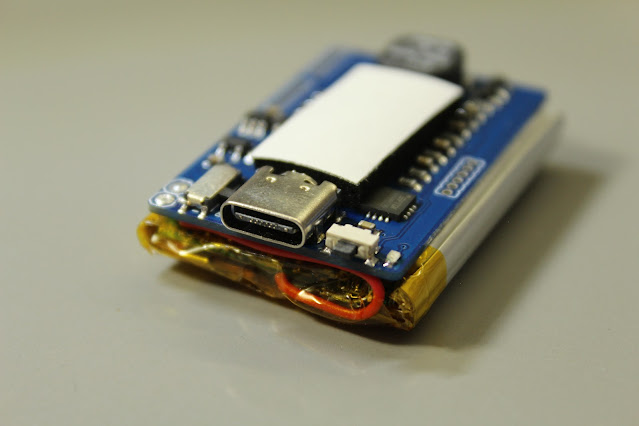
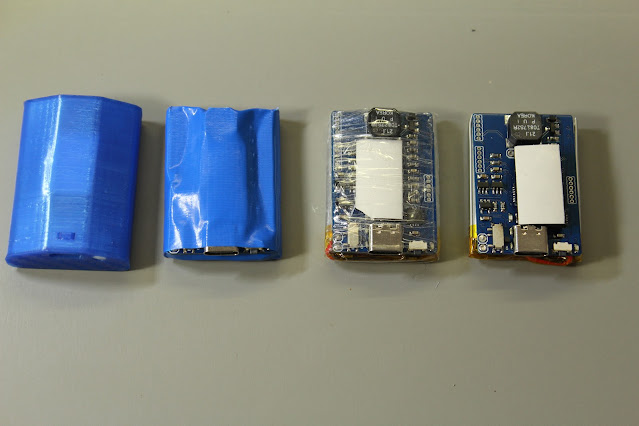
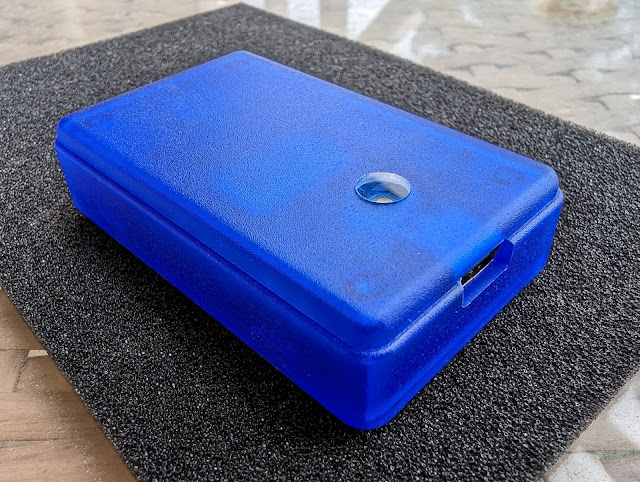
Today I am pleased to announce the release of two new Bluefly v25 models. The BlueFlyVario_Bluetooth_v25 is the latest version of the classic Bluefly. The BlueFlyVario_Bluetooth_GPS_IGC_v25 includes an onboard GPS and IGC tracklog recording.
What is new?
These models are an evolution of the v23 models. The main processor remains the same and most features are unchanged, but there are important hardware and firmware updates.
Hardware changes
The most significant change in this version is the new bluetooth module. The v25 replaces the previous dual-mode bluetooth module with the RNBD350PE, which supports Bluetooth Low Energy (BLE) only. This change was made because:
- The RNBD350PE is more readily available and better supported by the manufacturer.
- BLE provides more reliable connections with modern smartphones and devices.
- Most current flight apps (XCTrack, Flyskyhy) now use BLE connections.
The v25 also adds improved USB charging support (this was actually added in the v23_r2 board versions for the last few months). The vario now supports USB-C to USB-C charging thanks to the addition of 5.1k resistors, which allow proper power negotiation with USB-C power adapters and power banks. This means you can charge your vario with the same USB-C to USB-C cable you use for your modern smartphone or tablet, without needing a USB-A adapter.
The physical design remains the same as the v23, with the same translucent blue case, low-profile clear button, and USB-C port for charging and data.
Firmware updates
The firmware has been updated to support the new RNBD350PE bluetooth module. The main improvements are:
- Increased overall stability.
- Improved bluetooth connection reliability.
- Optimized power management for the new BLE module.
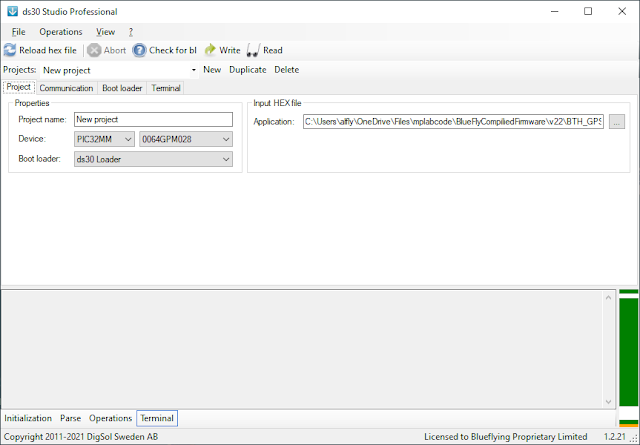
All of the hardware settings you are familiar with remain the same, and the firmware is compatible with existing tools like BFVDesktop.
What is in the box
Both models are shipped fully assembled and ready to use. The box contains:
- The fully assembled BlueFlyVario_Bluetooth_v25 (or BlueFlyVario_Bluetooth_GPS_IGC_v25)
- Packaging to protect the device and prevent accidental button activation during shipping
Unboxing and first use
When your vario arrives, follow these steps:
- Remove it from the packaging.
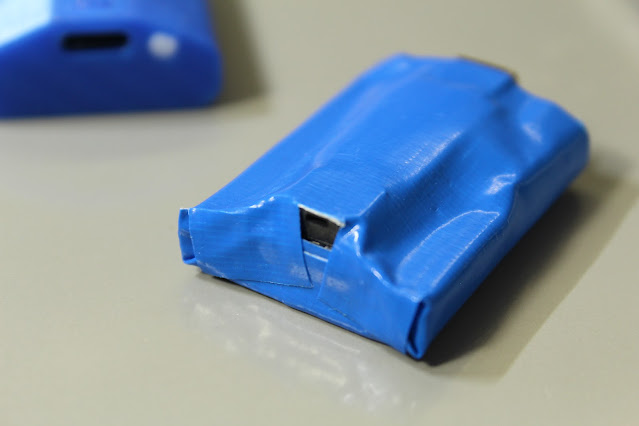
- Remove the blue tape and protective foam protecting the clear button from being pressed during transit.
- Short press the button. You should hear the vario turn on. See here for an explanation of the beeps and lights: https://www.blueflyvario.com/knowledgebase/explain-the-button-lights-and-beeps/.
- Plug in a USB-C cable to a charger or computer. The red light indicates charging. You can now use USB-C to USB-C cables with modern chargers!
- Connect it to your Android (https://www.blueflyvario.com/knowledgebase/trouble-connecting-bluetooth/) or iOS device (https://www.blueflyvario.com/knowledgebase/connecting-ios-bluetooth/). Note that the v25 uses BLE connections.
- For the GPS model, leave it on and sitting outside with a clear view of the sky until you get a GPS fix and the orange light flashes. This might take 5 to 10 minutes in a new location or if you haven't used it for a long time.
- Consider connecting to the BFVDesktop application via USB to adjust settings, though the defaults work well for most pilots.
- You might want to add some velcro to secure it to your flight deck or a lanyard: https://www.blueflyvario.com/knowledgebase/adding-a-lanyard/
The BlueFlyVario_Bluetooth_v25 and BlueFlyVario_Bluetooth_GPS_IGC_v25 continue the Bluefly tradition of reliable, sensitive vario performance in a compact package. The move to BLE-only connectivity and improved USB-C support reflects the current state of mobile devices and charging standards, ensuring the vario remains compatible with the devices pilots use today.


